
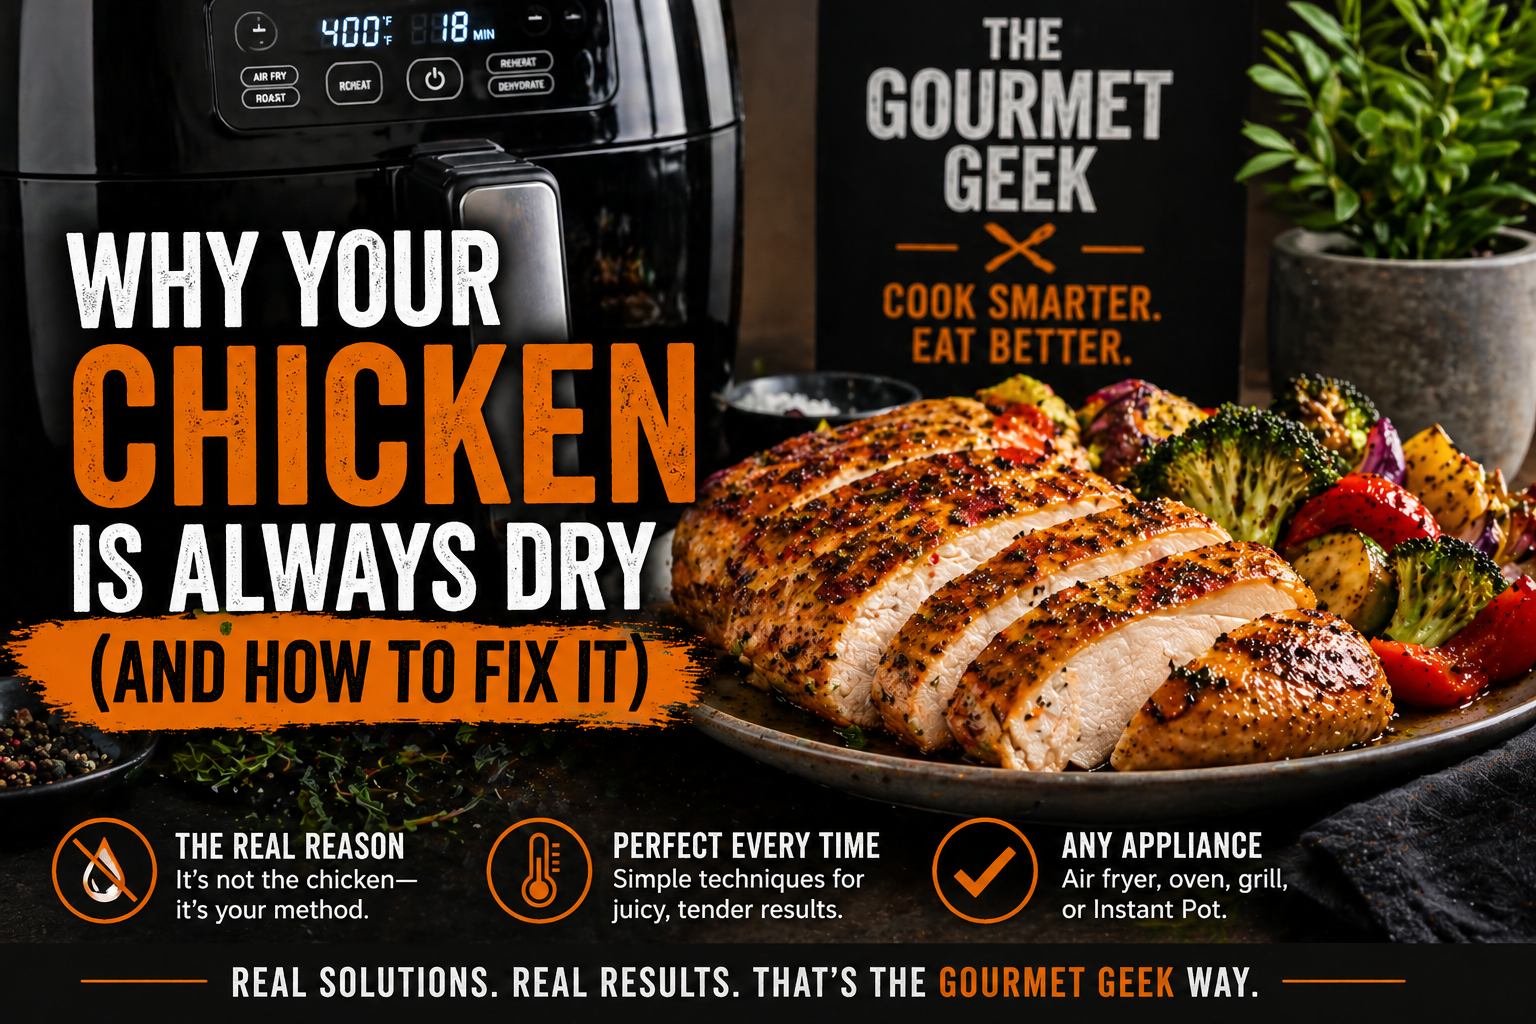
Dry chicken is not a character flaw. It is usually a process problem. The good news is that process problems can be fixed.
Chicken breast is one of the easiest proteins to overcook because it is lean, unevenly shaped, and not very forgiving. One minute it is almost there. A few minutes later it is tough, stringy, and somehow both hot and disappointing.
The fix is not a complicated recipe. It is temperature control, even thickness, enough seasoning, and a short rest before slicing.
The Safe Temperature Rule
Let us start with safety because chicken is not the place for vague advice. The FoodSafety.gov safe minimum temperature chart lists 165°F as the safe minimum internal temperature for chicken and other poultry. Use a food thermometer and check the thickest part.
Some experienced cooks use time-and-temperature methods below 165°F, especially with sous vide, but that requires precision. For a normal home-cooking guide, the clean rule is simple: make sure chicken reaches 165°F.
The practical Gourmet Geek move is to avoid blasting past that number. Pulling chicken when it is close and letting carryover heat finish the job can help, but only if you confirm the final temperature reaches 165°F.
Why Chicken Breast Dries Out So Fast
Chicken breast is mostly lean protein. It does not have the fat cushion that ribeye, thighs, or pork shoulder have. When it overcooks, the muscle fibers tighten and squeeze out moisture. That is the dry, squeaky texture everyone hates.
The shape is another problem. Most chicken breasts are thick on one end and thin on the other. If you cook the thick end until it is done, the thin end may already be overcooked. If you cook for the thin end, the thick end may not be safe yet.
So the first real fix happens before the chicken touches heat.
Fix 1: Even Out the Thickness
If the chicken breast is thick on one side, gently pound it to a more even thickness or slice it into cutlets. You do not need to smash it flat. You just want the thick and thin ends to cook at roughly the same pace.
This is one of those boring steps that makes you look like a better cook immediately.
Fix 2: Salt Earlier
Salt does more than make chicken taste better. Given a little time, it helps the meat hold onto moisture and seasons deeper than the surface.
If you have 30 minutes, season the chicken and let it sit in the fridge uncovered or loosely covered. If you only have five minutes, season anyway. Just do not skip it.
Fix 3: Stop Using Maximum Heat for Everything
High heat has a place, but it is not always your friend with chicken breast. Too much heat too fast can overcook the outside while the center is still catching up.
Controlled heat wins. In the air fryer, that usually means around 375°F. In the oven, 375 to 400°F works well for many pieces. In a skillet, medium to medium-high is usually enough once the pan is properly preheated.
A Reliable Juicy Chicken Method
- Even the thickness. Pound lightly or cut into even pieces.
- Season with salt. Add pepper, garlic powder, paprika, or your favorite blend.
- Pat the surface dry. This helps browning instead of steaming.
- Cook with controlled heat. Avoid scorching the outside before the inside is safe.
- Use a thermometer. Check the thickest part.
- Rest before slicing. Five minutes helps the juices settle.
Air Fryer Chicken Breast
For air fryer chicken breast, use 375°F as a starting point. Lightly coat or spray the chicken so the seasoning does not dry out on the surface. Cook time depends heavily on thickness, but many average pieces land around 10 to 14 minutes with a flip halfway through.
The key is to start checking early. Once the thickest part reaches 165°F, stop cooking. More time does not make chicken safer in a useful way; it just makes it drier.
Oven Chicken Breast
The oven is useful when you are cooking several pieces at once. Place chicken on a sheet pan or, even better, on a rack set over the pan so heat can move around it.
Bake at 375 to 400°F until the thickest part reaches 165°F. If the chicken breasts are very different sizes, pull the smaller ones first instead of forcing everything to finish together.
Skillet Chicken Breast
For skillet chicken, preheat the pan, add a little oil, and cook over medium to medium-high heat. Sear both sides, then lower the heat if the outside is browning too quickly.
A lid can help finish thicker pieces gently, but do not trap steam the whole time if you want browning. Use it as a tool, not a default.
Optional Upgrade: A Quick Brine
If chicken breast keeps disappointing you, try a simple brine. Dissolve 1/4 cup kosher salt in 4 cups water, add the chicken, and refrigerate for 30 to 60 minutes. Rinse lightly or pat very well, then season and cook.
A brine gives you more margin for error. It will not save badly overcooked chicken, but it helps the meat stay seasoned and juicy.
Common Mistakes
- Cooking by time only. Time is a guide. Temperature decides.
- Skipping the rest. Slice immediately and the juices run out.
- Ignoring thickness. Uneven chicken cooks unevenly.
- Using too much heat for too long. Browning is good. Drying out is not.
- Trusting color alone. Use a thermometer.
The Bottom Line
Juicy chicken is not luck. It is a system: even thickness, enough salt, controlled heat, thermometer check, and rest time.
Once you have that system, you can use almost any appliance well. Air fryer, oven, skillet, grill: they all work better when you stop guessing and start cooking to the result you actually want.
That is the Gourmet Geek way. Less panic. Better process. Dinner that does not taste like punishment.