
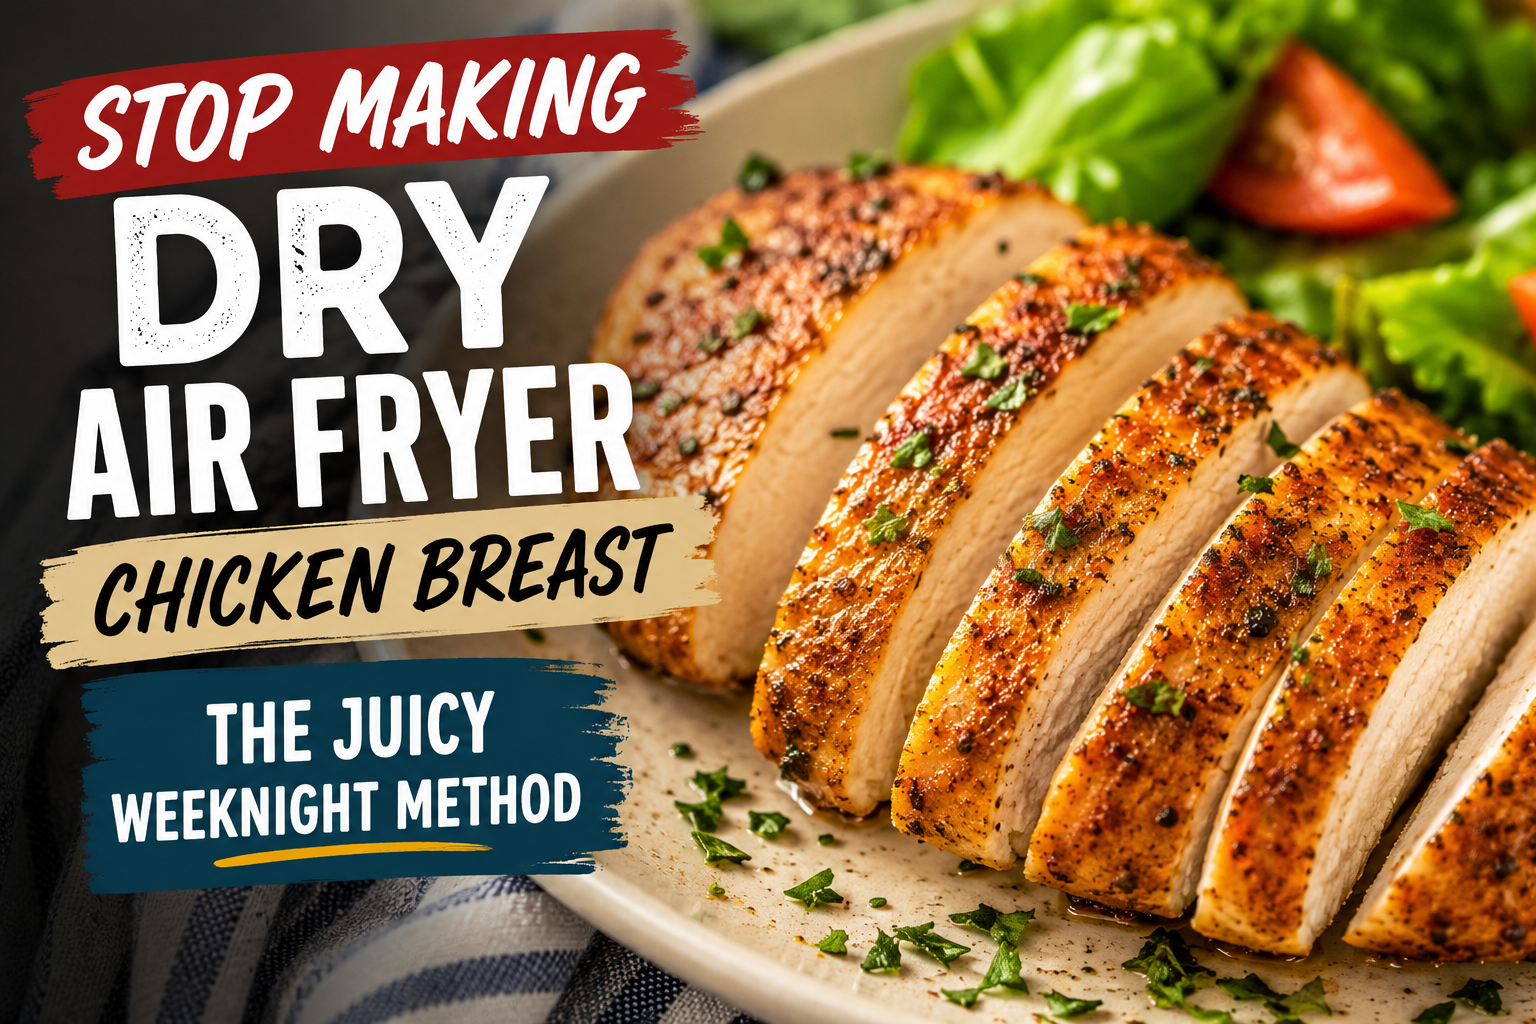
Air fryer chicken breast has a reputation problem.
In theory, it should be one of the easiest weeknight dinners on the planet. It is fast, lean, affordable, and it can go with just about anything. Slice it over a salad, tuck it into a wrap, serve it with rice, pile it next to roasted vegetables, or eat it straight off the cutting board while pretending you are “just tasting it.”
But in real life?
A lot of air fryer chicken breast comes out dry, pale, chewy, and just a little disappointing. You know the kind. It looks healthy, but it eats like a punishment.
The good news is that the air fryer is not the problem. Chicken breast just needs a little help. Once you understand a few simple things — thickness, temperature, timing, seasoning, and resting — you can make juicy air fryer chicken breast without hovering over a skillet or heating up the whole kitchen.
This is the weeknight method I like because it is simple, repeatable, and forgiving. No complicated marinade. No overnight planning. No culinary gymnastics. Just good chicken, cooked properly.
Why Air Fryer Chicken Breast Gets Dry
Chicken breast is naturally lean, which means it does not have much fat to protect it from overcooking. That is great if you want a lighter dinner, but it also means there is not a lot of wiggle room.
A chicken thigh can forgive you. A chicken breast remembers everything.
The most common problem is cooking it too hot for too long. A lot of people crank the air fryer to 400°F for everything, toss the chicken in, and hope for the best. That works for some foods, especially things that need crisping, but chicken breast needs a slightly gentler approach.
The other problem is uneven thickness. Most chicken breasts are thick on one end and thin on the other. By the time the thick end is cooked through, the thin end has already given up and moved to the desert.
So before we even talk about seasoning, the real trick is getting the chicken to cook evenly.
Start With Even Thickness
If your chicken breast is very thick on one side, give it a quick pound with a meat mallet, rolling pin, or even the bottom of a sturdy pan. You are not trying to flatten it into a cutlet unless you want to. You just want the thick end and thin end to be a little closer in size.
About ¾ inch to 1 inch thick is a nice target for air fryer chicken breast. It cooks faster, more evenly, and is much less likely to dry out.
If the chicken breasts are huge, you can also slice them horizontally into thinner pieces. That gives you quicker cooking and more surface area for seasoning, which is never a bad thing.
Season It Like You Mean It
Chicken breast needs flavor on the outside because there is not much fat inside carrying flavor through the meat. A light coating of oil helps the seasoning stick and also helps the surface brown a little better in the air fryer.
For a basic weeknight version, I like olive oil or avocado oil, salt, black pepper, garlic powder, onion powder, and smoked paprika. That combination gives you savory flavor, a little color, and enough personality to work with almost any side dish.
Rub the seasoning all over the chicken, including the edges. This is not the time for a timid sprinkle from two feet above the counter. Get in there. Make friends with the chicken.
If you have time, let the seasoned chicken sit for 10 minutes before cooking. Even that short rest helps the seasoning settle in. If you do not have time, no problem. This method still works.
The Best Air Fryer Temperature for Juicy Chicken Breast
For boneless, skinless chicken breast, I usually prefer 375°F instead of blasting it at 400°F.
That slightly lower temperature gives the center time to cook before the outside gets tough. You still get a nice surface, especially with a little oil and paprika, but you reduce the risk of turning dinner into chicken jerky.
Most average-sized chicken breasts will take about 9 to 14 minutes, depending on thickness and your specific air fryer. Smaller or thinner pieces may be done closer to 8 or 9 minutes. Big thick pieces may take 14 or even a little longer.
The best way to know is to use an instant-read thermometer. Pull the chicken when the thickest part reaches 160°F to 165°F, then let it rest. The temperature will usually rise a little as it sits.
That thermometer is not fancy cooking theater. It is the difference between guessing and knowing.
Do You Need to Flip Chicken in the Air Fryer?
Usually, yes.
A halfway flip helps both sides cook more evenly and gives you better color. If your air fryer has strong circulation, you might get away without flipping, but I still recommend it for chicken breast.
For most pieces, cook for about 5 to 7 minutes, flip, then finish cooking until the center reaches temperature.
Try not to open the basket every two minutes to check on it. I know it is tempting. The air fryer feels like a little magic drawer and we all want to peek. But every time you open it, you lose heat and slow things down.
Let it cook. Flip once. Check near the end.
The Resting Rule That Saves Dinner
This is the step people skip, and it matters.
When chicken comes out of the air fryer, the juices are still moving around inside. If you slice it immediately, a lot of that moisture ends up on the cutting board instead of staying in the meat.
Give the chicken 5 minutes to rest before slicing. You do not need to do anything dramatic. Just set it on a plate or cutting board and loosely cover it if you want.
Then slice across the grain if you can see the grain. The texture will be better, the slices will look nicer, and the chicken will feel more tender.
This is also where air fryer chicken breast becomes meal-prep gold. Let it rest, slice it, and you have protein ready for salads, bowls, wraps, pasta, sandwiches, or late-night fridge raids.
Simple Juicy Air Fryer Chicken Breast
This is the basic version you can make once and then customize forever.
Use boneless, skinless chicken breasts that are close to even thickness. Pat them dry with a paper towel, then rub them with a little oil. Season with salt, pepper, garlic powder, onion powder, and smoked paprika.
Preheat the air fryer to 375°F if your model benefits from preheating. Place the chicken in a single layer with a little space around each piece. Cook for 5 to 7 minutes, flip, then cook another 4 to 7 minutes, or until the thickest part reaches 160°F to 165°F.
Rest for 5 minutes before slicing.
That is the whole trick. Not complicated. Just controlled.
Easy Ways to Serve It
This chicken is intentionally flexible. That is what makes it useful.
For a quick dinner, serve it with a bagged salad and garlic toast. For meal prep, slice it over rice bowls with vegetables and a drizzle of sauce. For something cozy, add it to pasta with Alfredo, pesto, or marinara. For lunch, tuck it into wraps with lettuce, tomato, cheese, and ranch or honey mustard.
You can also change the seasoning depending on where you want the meal to go. Add chili powder and cumin for taco bowls. Use Italian seasoning for pasta night. Try lemon pepper for salads. Add Cajun seasoning if you want a little kick.
Once you get the method right, the flavor can go anywhere.
Troubleshooting: What Went Wrong?
If your chicken came out dry, it probably cooked too long or started too unevenly thick. Next time, pound it a little more evenly and start checking the temperature earlier.
If it looked pale, use a little more oil and make sure there is some paprika or seasoning on the surface. Also check that the basket is not overcrowded. Air needs room to move around the chicken.
If the outside got tough before the inside cooked, the temperature may have been too high or the chicken was too thick. Try 375°F and a more even thickness.
If the seasoning tasted flat, do not be afraid of salt. Chicken breast needs enough seasoning to carry every bite.
The Big Takeaway
Juicy air fryer chicken breast is not about a secret ingredient. It is about not bullying the chicken.
Even thickness. A little oil. Good seasoning. Moderate heat. A halfway flip. A quick temperature check. Five minutes of rest.
That is it.
Once you get that rhythm down, this becomes one of those recipes you can make on autopilot. It is fast enough for a busy weeknight, clean enough for meal prep, and flexible enough that you do not feel like you are eating the same dinner over and over again.
And if you want a printable guide for chicken, steak, shrimp, fries, and more, grab the free Gourmet Geek Air Fryer Time & Temp Chart. It is the kind of thing you will want taped inside a cabinet, because guessing is how chicken breast becomes sad.